From idea to painting - explore the creative process of an Australian bird artist
I’m currently working on a new bird painting in watercolour and I thought I’d take you along on the journey of how I get from initial concept to final painting. So let’s begin….
(In case you’ve stumbled upon this blog somehow and don’t actually know me, let me introduce myself. I’m Anne Smerdon, Australian bird artist, parrot owner and bird lover. I have over 15 years of experience working with birds. I work closely with bird owners, carers and researchers. I’ve written two books for bird owners on everything that I know about bird ownership and why we need to change the way humans in general keep birds (hint: they are FAR more intelligent and have far greater needs than we think!). In my work as a bird artist I spend a great deal of time with each bird, getting to know their personality so that hopefully I can convey this into the final bird art).

The artwork I’m working on is of a Plumed Whistling Duck (Dendrocygna eytoni). The artwork is a commission, which means a client has requested I create a painting of this specific Australian species of bird.

The first challenge: finding the bird!
As a professional Australian bird artist, I take all of my own photos. Of course I could collaborate with a wildlife photographer and borrow some of their photos (with credit of course) but really, my bird art is just an excuse for me to hang out with birds. So I like to spend time with each bird, observe its movements, its personality. So it’s all about being in the presence of the bird. So the first challenge was to find a Whistling Duck.
My client had Whistling Ducks on her property but as they’re naturally quite shy and timid, I was unable to get a close-up photograph of them while I was there. So I was on the lookout for Whistling ducks in my local area. Fortunately, I happened to be out walking around a local lake one day and stopped to chat with a friend when two Whistling ducks approached US! Could you believe it! These naturally shy creatures making a B-line for two humans. I started to wonder whether I was some kind of pied-piper of birds, attracting them wherever I go….but crazy conspiracies aside, it was obvious one of the locals surrounding the lake was in the habit of feeding them. I don’t necessarily endorse feeding wildlife but hey, in this case I’ll take it!
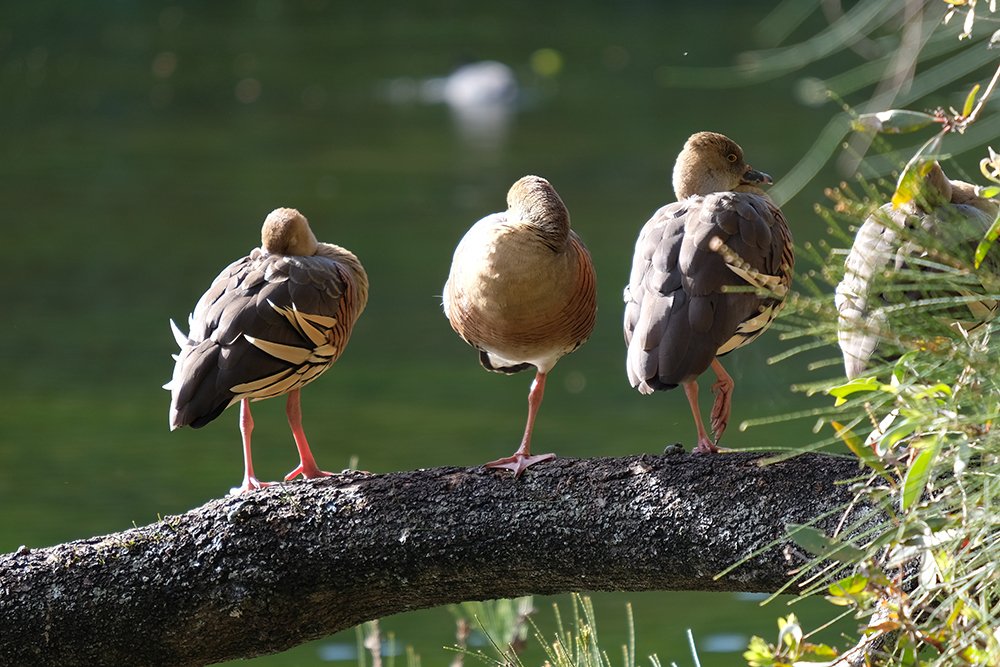
I headed back to the lake later that week with my camera, located the ducks and snapped away. Ironically, these ducks were SO tame that they slept almost the whole hour I was there, even though I was only a few meters away! 99% of my photographs were of ducks sleeping with their heads tucked behind their feathers, which doesn’t make for a great painting. But I was fortunate enough to get a few snaps that I could paint from. So it was back to the studio!
Grading the photos
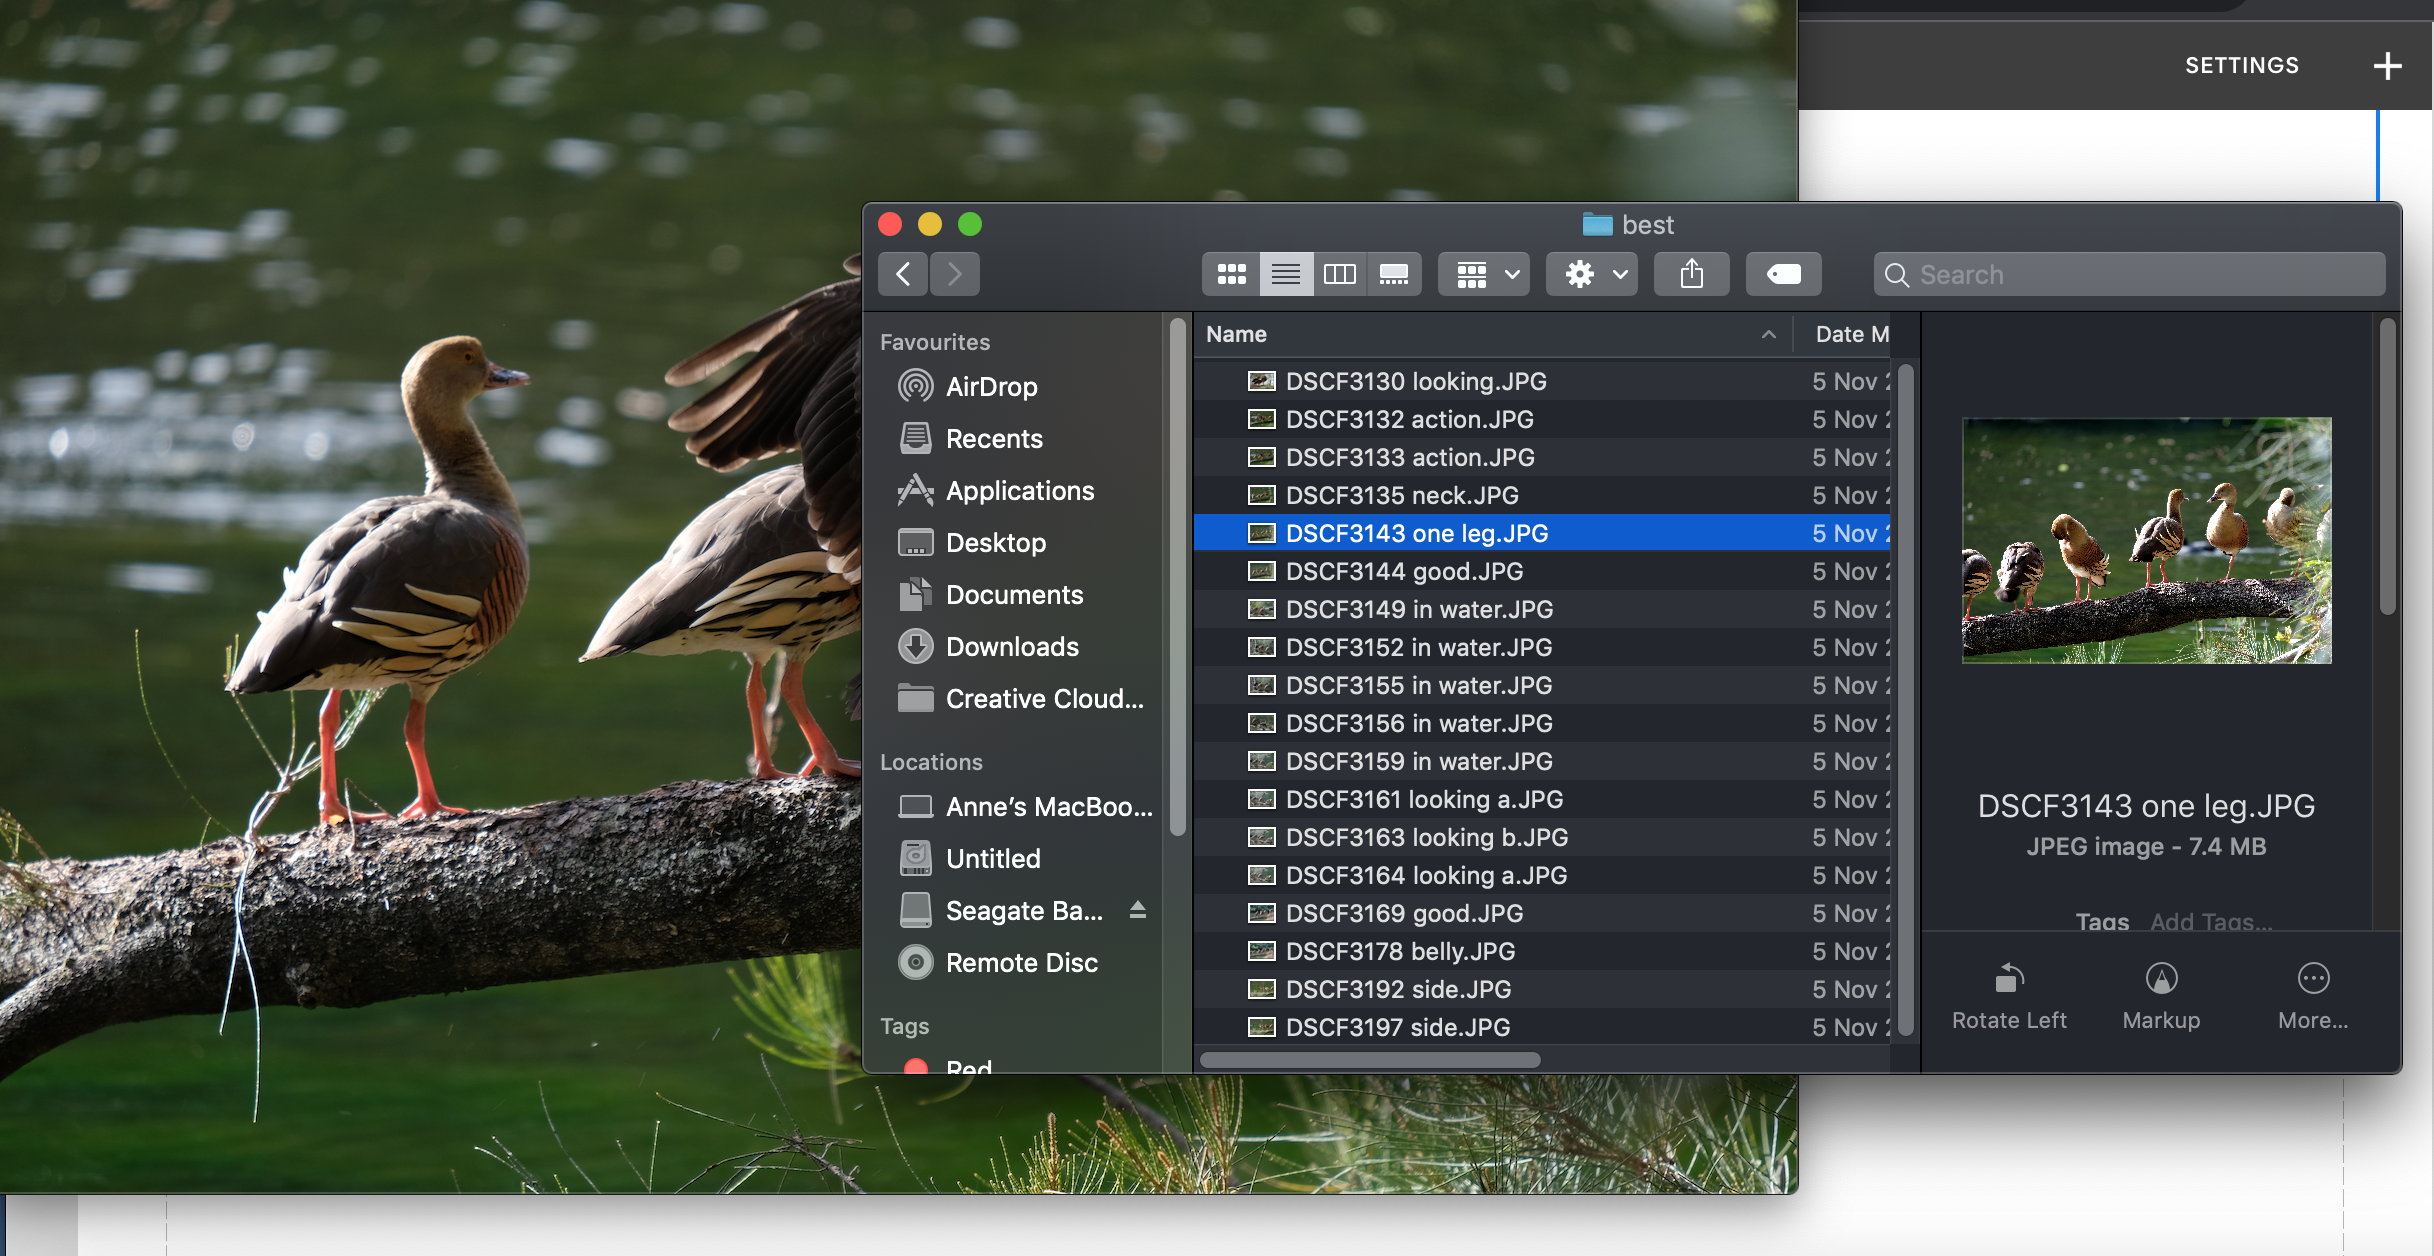
Once I load my photos from my camera onto my laptop, I go through and grade each image. I’m really looking for a photo that captures the personality of the bird that I experience on the day. I take thousands of photos while I’m photographing, so it takes some time to go through them all. Once I’ve selected my top 10, I’ll then go on to make tonal thumbnail sketches.
Tonal thumbnail sketches
Tonal thumbnail sketches help me visualise bold and dynamic compositions. These are just on paper with pencil or pen. I might make 1-3 thumbnails for each photo while I’m looking at which areas might be dark and which areas might be light. In this case, the client wanted a square composition which is one of the hardest to work with. Squares are even sided so it can be hard to create a composition that’s not smack bang in the middle. I’m looking to create something that moves the eye around.
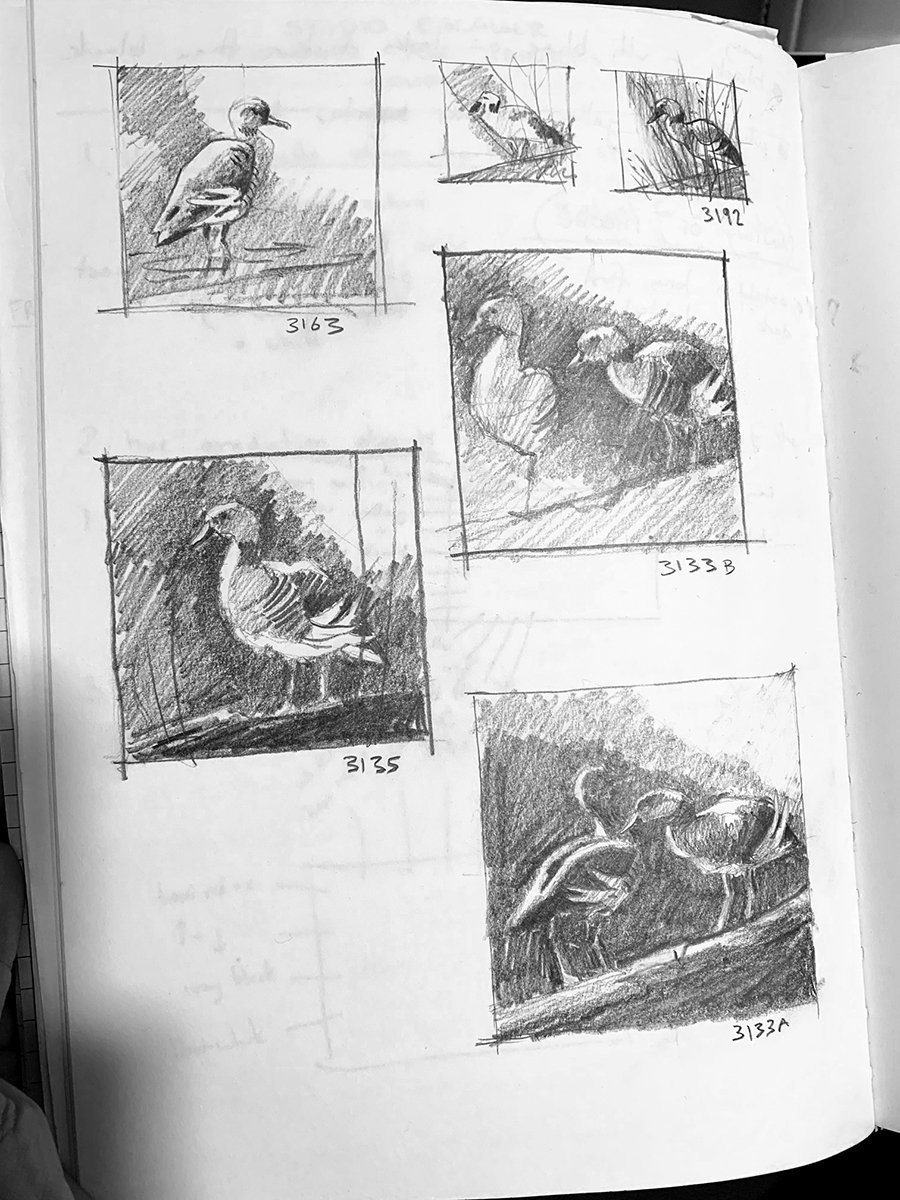
If you’re wondering what the numbers are under the thumbnails, they represent the photo number (automatically assigned by my camera). This helps me to keep track of which photo formed which bird painting idea.
Colour thumbnails/mock-ups
The next step in the design process is to add colour to the thumbnails. I normally do these digitally as I find it quicker to make changes and shift colours. In this case, as the final artwork will be made in watercolour I tried to digitally paint a similar look to a watercolour. These mock-ups then get sent to the client for their approval/suggestions.

And that takes us through the design process to date. I’ve sent the mock-ups tot he client for their comment. And once I hear back from them, I’ll take the design further. I’ll continue to document my process so stay tuned for part 2 of my bird art design process!
Anne x